Many learners to programming servlets find it difficult to get started working with Tomcat - installing, configuring, deploying with the Tomcat manager or admin, reloading a modified servlet, etc. etc. Using Netbeans can greatly reduce the frustration in initial studying, as we can create a working servlet easily and quickly. Here are the steps:
- Start Netbeans

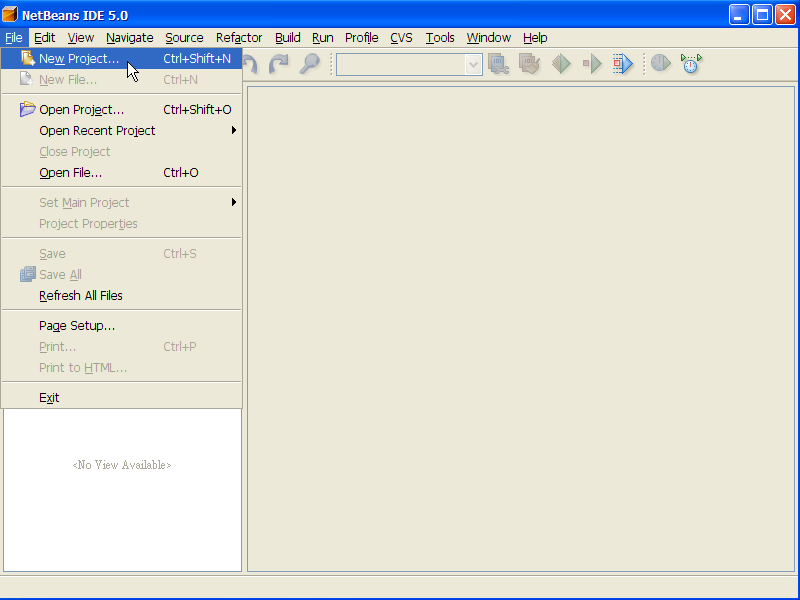
- Create a project by clicking the menu File -> New Project...

- In the New Project dialog, select Category of Web, and Projects type Web Application, then click Next >

- In the New Web Application dialog, enter the Project Name (e.g., WebExample1), then click Next >

- In the next step, we don't use any framework, so just click Finish.

- Netbeans is creating the project.

- The project is created. We can just ignore the default JSP page that is automatically generated.

- Now, let's create a servlet. Click the menu File -> New File...

- In the New File dialog, select the Category of Web, and the File Type of Servlet, then click Next >

- In the New Servlet dialog, enter the Class Name (e.g., ServletExample1), then click Next >

- In the next step, we use all default deployment values, so just click Finish.

- A complete servlet is generated.

- Edit the servlet do show something. E.g., remove the line "/* TODO output your page here." and the line "*/".

- After editing the servlet, save it by clicking the menu File -> Save.

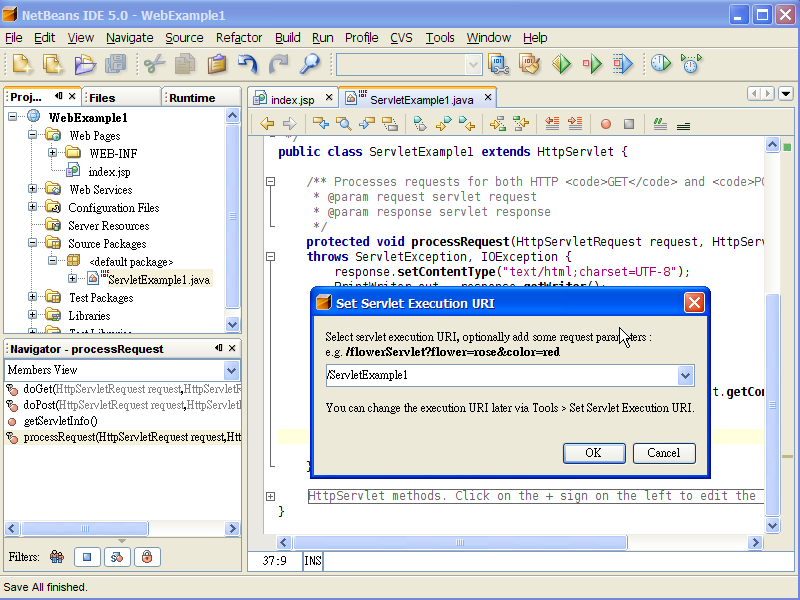
- We can now run the servlet. Click the menu Run -> Run File -> Run "ServletExample1.java"

- Accept the default Execution URL by clicking OK.

- Netbeans will compile the servlet, start the Tomcat server, deploy the web app.

- And then open a browser to access the URL for your servlet. The servlet is executed.


In this way, we can create and run a servlet, without the installation and configuration of Tomcat. Tomcat 5.5.9 is bundled and pre-configured in Netbeans 5.0.